
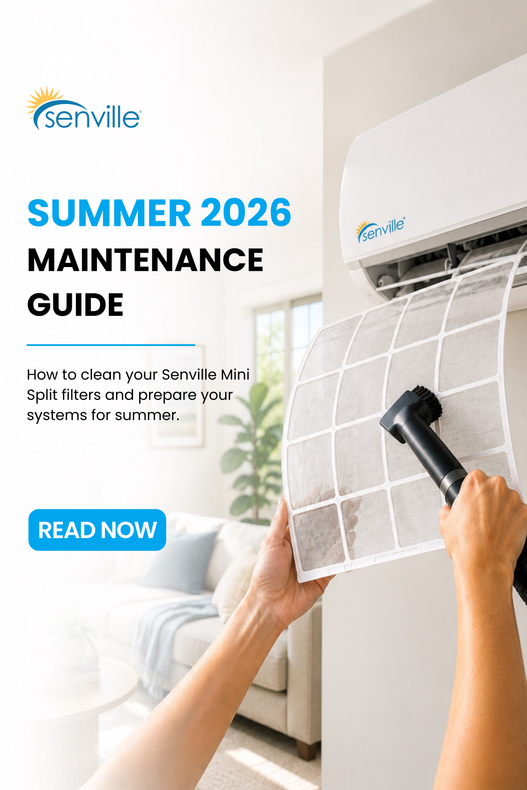
Summer 2026 Maintenance Guide: How to Clean Your Senville Mini Split Filters and Prepare Your System for Summer
When summer temperatures arrive, your Senville mini split system becomes one of the most important appliances in your home. A few simple maintenance tasks can help improve efficiency, maintain cooling performance, and extend the life of your system.
One of the most important maintenance tasks is cleaning the air filters. Dirty filters can restrict airflow, reduce cooling capacity, increase energy consumption, and negatively impact indoor air quality.
The good news? Cleaning your Senville filters takes only a few minutes and requires no special tools.
In this guide, we'll show you how to clean your Senville mini split filters and prepare your system for reliable cooling throughout Summer 2026.
Before diving into the maintenance steps, use this quick checklist to make sure your system is ready for the season.
| Summer Maintenance Checklist | Status |
|---|---|
| Clean air filters | ✓ |
| Inspect outdoor unit | ✓ |
| Remove debris around condenser | ✓ |
| Check indoor airflow | ✓ |
| Test cooling mode | ✓ |
Why Senville Recommends Regular Filter Cleaning
Your mini split's washable filters capture dust, pollen, pet dander, and other airborne particles. As debris builds up, airflow and cooling performance can suffer.
Regular cleaning helps keep your system running efficiently and your indoor air cleaner.
| Clean Filters | Dirty Filters |
|---|---|
| Strong airflow | Restricted airflow |
| Better cooling performance | Reduced cooling capacity |
| Lower energy consumption | Higher electricity usage |
| Improved indoor air quality | Increased dust circulation |
| Reduced strain on the system | Increased wear on components |
Step 1: Turn Off Your Mini Split
Power off your Senville system using the remote control and allow the indoor unit to stop operating completely before opening the front panel.
Step 2: Open the Front Panel
Locate the indoor air handler and gently lift the front cover upward.
Most Senville wall-mounted units feature easy-access filter compartments, allowing filters to be removed without special tools.
Step 3: Remove the Air Filters
Carefully slide the filters upward and outward according to your owner's manual.
Inspect the filters for dust, pet hair, pollen, and other debris. Even a moderately dirty filter can restrict airflow during peak cooling season.
Step 4: Clean the Filters
Senville filters are washable and reusable.
For Light Dust Buildup
- Use a vacuum cleaner with a soft brush attachment.
- Vacuum both sides of the filter.
- Remove any visible dust and debris.
For Heavier Buildup
- Rinse the filters using lukewarm water.
- Use a mild detergent if necessary.
- Gently remove any remaining debris.
- Rinse thoroughly before drying.
Avoid Using
- Harsh cleaning chemicals
- Hot water
- Abrasive brushes
- Pressure washers
These may damage the filter material and reduce its effectiveness.
Step 5: Allow Filters to Dry Completely
Allow filters to air dry completely before reinstalling them.
Installing damp filters may introduce moisture into the indoor unit and affect performance.
Step 6: Reinstall the Filters
Once dry, slide the filters back into place and ensure they are properly seated before closing the front panel.
Step 7: Inspect Your Outdoor Unit
Remove leaves, grass clippings, branches, and other debris from around the outdoor unit to maintain proper airflow.
Step 8: Check Indoor Airflow
Ensure furniture, curtains, or decorative items are not blocking airflow from indoor units.
Clear airflow helps maintain consistent cooling throughout your home.
Step 9: Test Cooling Operation
Turn your Senville system back on and select Cooling Mode.
Allow the unit to operate for 10–15 minutes and confirm:
- Strong airflow
- Cool air delivery
- Quiet operation
- Proper remote control functionality
If you notice reduced performance, unusual sounds, water leakage, or error codes, consult your owner's manual or contact Senville support.
Common Signs Your Filters Need Cleaning
Even if you're following a maintenance schedule, your mini split may show signs that it's time to inspect the filters.
| Symptom | Possible Cause |
|---|---|
| Weak airflow | Dirty filter |
| Higher energy bills | Restricted airflow |
| Slower cooling | Reduced system efficiency |
| Musty odors | Dust or debris buildup |
| Longer run times | Airflow obstruction |
If you notice any of these symptoms, inspect and clean the filters before they begin affecting overall system performance.
How Often Should You Clean Your Mini Split Filters?
Cleaning frequency depends on your home's environment and how often the system operates.
Recommended Filter Inspection Schedule
| Home Environment | Recommended Inspection Frequency |
|---|---|
| Average household | Every 30 days |
| Homes with pets | Every 2–4 weeks |
| High-pollen areas | Every 2–4 weeks |
| Vacation properties | Before each season of use |
| Continuous summer cooling | Every 2 weeks |
| Allergy-sensitive households | Every 2–3 weeks |
Pro Tip: During periods of heavy summer use, a quick filter inspection every two weeks can help maintain maximum efficiency and cooling performance.
Enjoy Reliable Cooling All Summer Long
A clean filter is one of the easiest ways to keep your Senville mini split running efficiently throughout the cooling season.
By cleaning your filters regularly and performing a quick seasonal inspection, you can help maintain reliable cooling, improve indoor air quality, and reduce unnecessary strain on your system.
For additional support, product documentation, and troubleshooting resources, visit the Senville Support Center.