
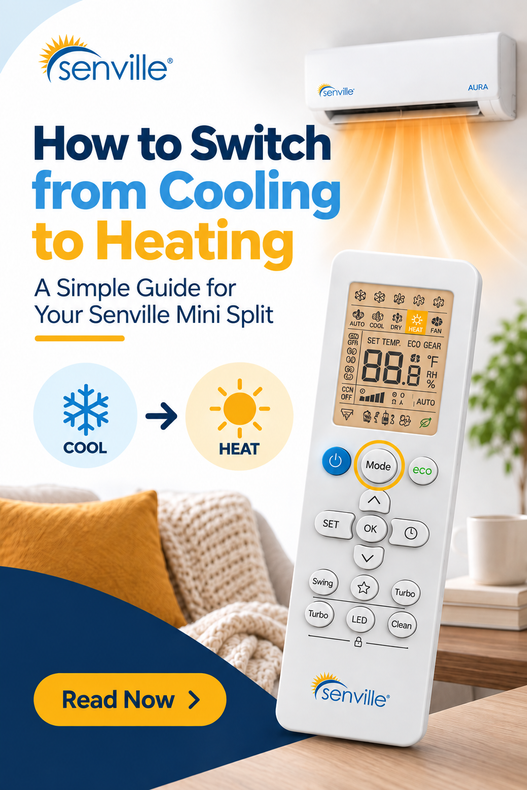
As September goes on, cooler mornings and evenings start to return. Depending on where you live, you may still need air conditioning during the day while beginning to think about heating for the months ahead.
One of the advantages of a heat pump mini split is that the same system can provide both cooling and heating. When the weather in your area is ready for the switch, changing from Cool Mode to Heat Mode is simple, but there are a few things worth knowing before you reach for the remote.
Here’s how to switch your Senville mini split from cooling to heating and make sure everything is working as expected.
QUICK ANSWER
To switch your Senville mini split from cooling to heating, press the MODE button on your remote until Heat Mode (sun icon) appears. Set the temperature above the current room temperature and allow the system a few minutes to begin producing warm air.
What You’ll Learn
Know when it makes sense to switch to heating
Select Heat Mode on your Senville mini split
Choose an appropriate temperature setting
Know what to expect when heating first starts
Check your fan and airflow
Avoid mode conflicts on multi-zone systems
Identify simple things to check if your system isn’t heating
Step 1: Decide If You Actually Need Heat Yet
The calendar doesn't determine when your mini split needs to switch from cooling to heating.
Early fall weather varies significantly across the United States. Some areas may already be experiencing chilly mornings, while others could continue using air conditioning well into the season.
Instead, pay attention to the temperature inside your home.
If your home remains comfortable without heating, there's no need to switch simply because fall is approaching. Once indoor temperatures regularly begin dropping below your preferred comfort level, it may be time to start using Heat Mode.
QUICK TIP
Let your comfort needs—not the calendar—make the decision. There’s no universal date when every homeowner should switch from cooling to heating.
Step 2: Select Heat Mode
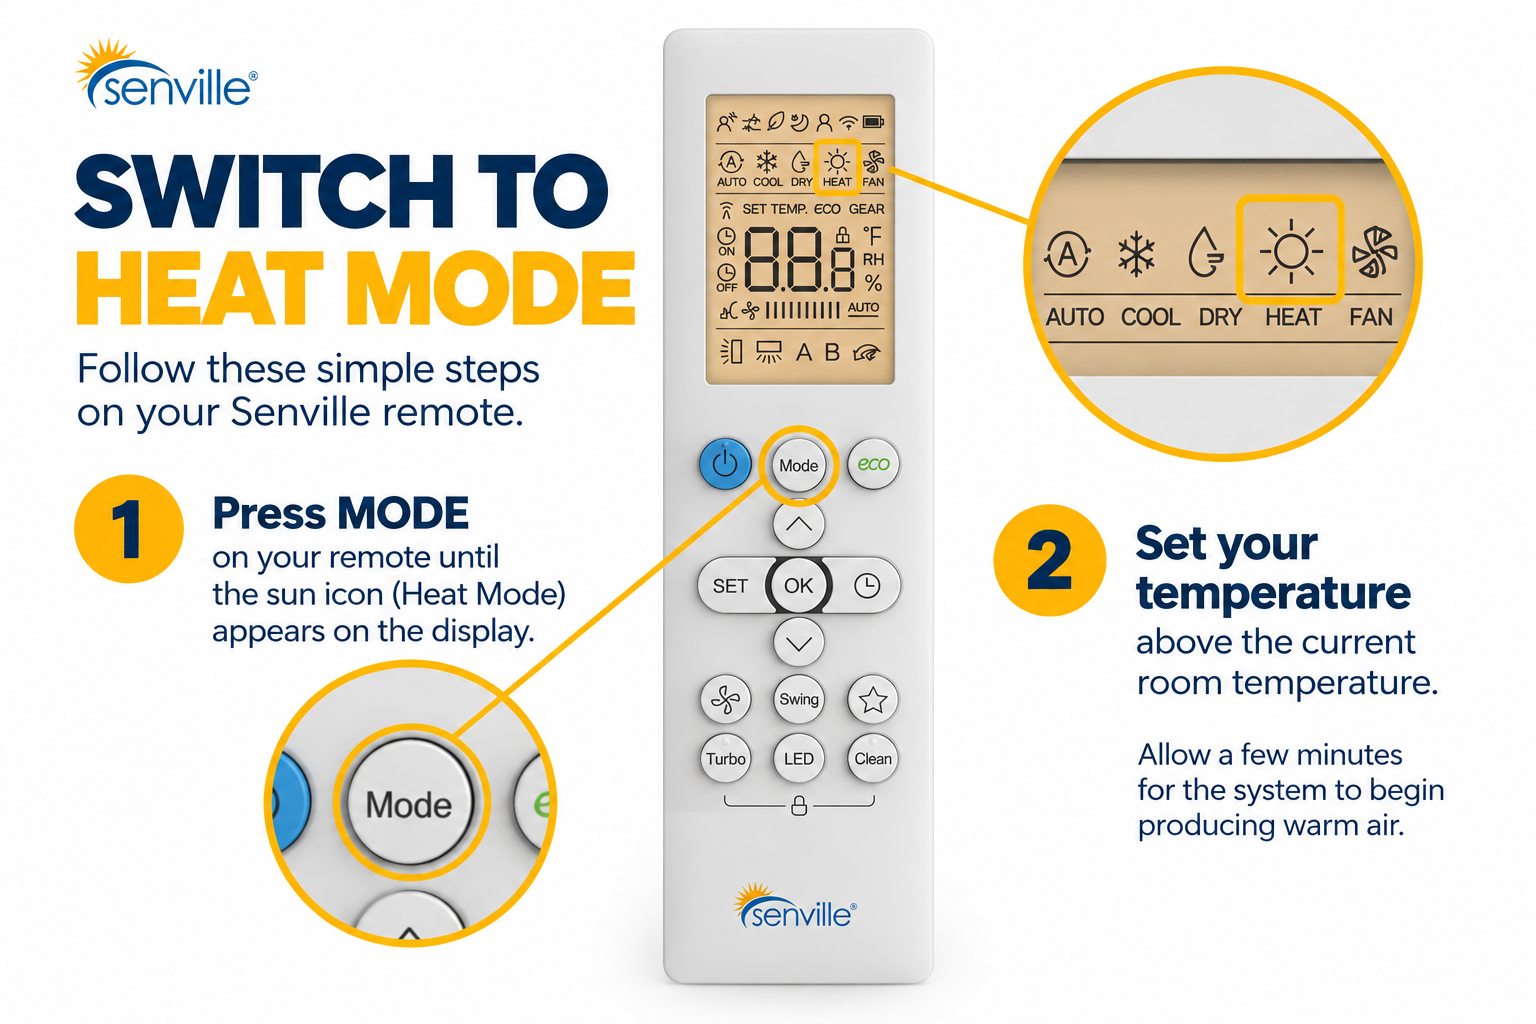
When you're ready for heating, use your Senville remote or compatible controller to change the operating mode.
Press the MODE button until Heat Mode is selected. On Senville remotes, Heat Mode is generally represented by a sun symbol.
Make sure you've actually selected Heat rather than Fan, Dry or Auto.
| Mode | What It Does |
|---|---|
| Cool | Cools the room toward your selected temperature |
| Dry | Helps reduce excess indoor humidity |
| Fan | Circulates air without actively heating or cooling |
| Auto | Allows the system to automatically select operation based on conditions |
| Heat | Heats the room toward your selected temperature |
IMPORTANT
Remote layouts and controls can vary by model. Always refer to the owner’s manual for your specific Senville system if you’re unsure which setting to select.
Step 3: Set Your Desired Temperature
Once Heat Mode is selected, choose the temperature you actually want the room to reach.
The selected temperature needs to be above the current room temperature for the system to call for heat.
Avoid setting the temperature dramatically higher because you're trying to warm the room faster. Your mini split will work toward the selected setpoint based on current conditions and the heating demand.
QUICK TIP
Set it for comfort, not speed. Turning the setting significantly higher doesn’t mean the room will necessarily warm up faster. Choose your preferred temperature and give the system time to respond.
Step 4: Give Your Mini Split Time to Start Heating
You switch to Heat Mode...and nothing seems to happen.
Don't immediately assume something is wrong.
When a mini split begins heating, the indoor fan may not start blowing warm air right away. The system can delay indoor airflow while the indoor coil warms up, helping prevent cool air from being blown into the room.
Give your system a few minutes to begin operating before evaluating its performance.
What to Expect When Heat Mode Starts
GOOD TO KNOW
A short delay can be normal. If your mini split doesn’t immediately blow warm air after switching to Heat Mode, give it a few minutes before troubleshooting.
Step 5: Check Your Fan and Airflow
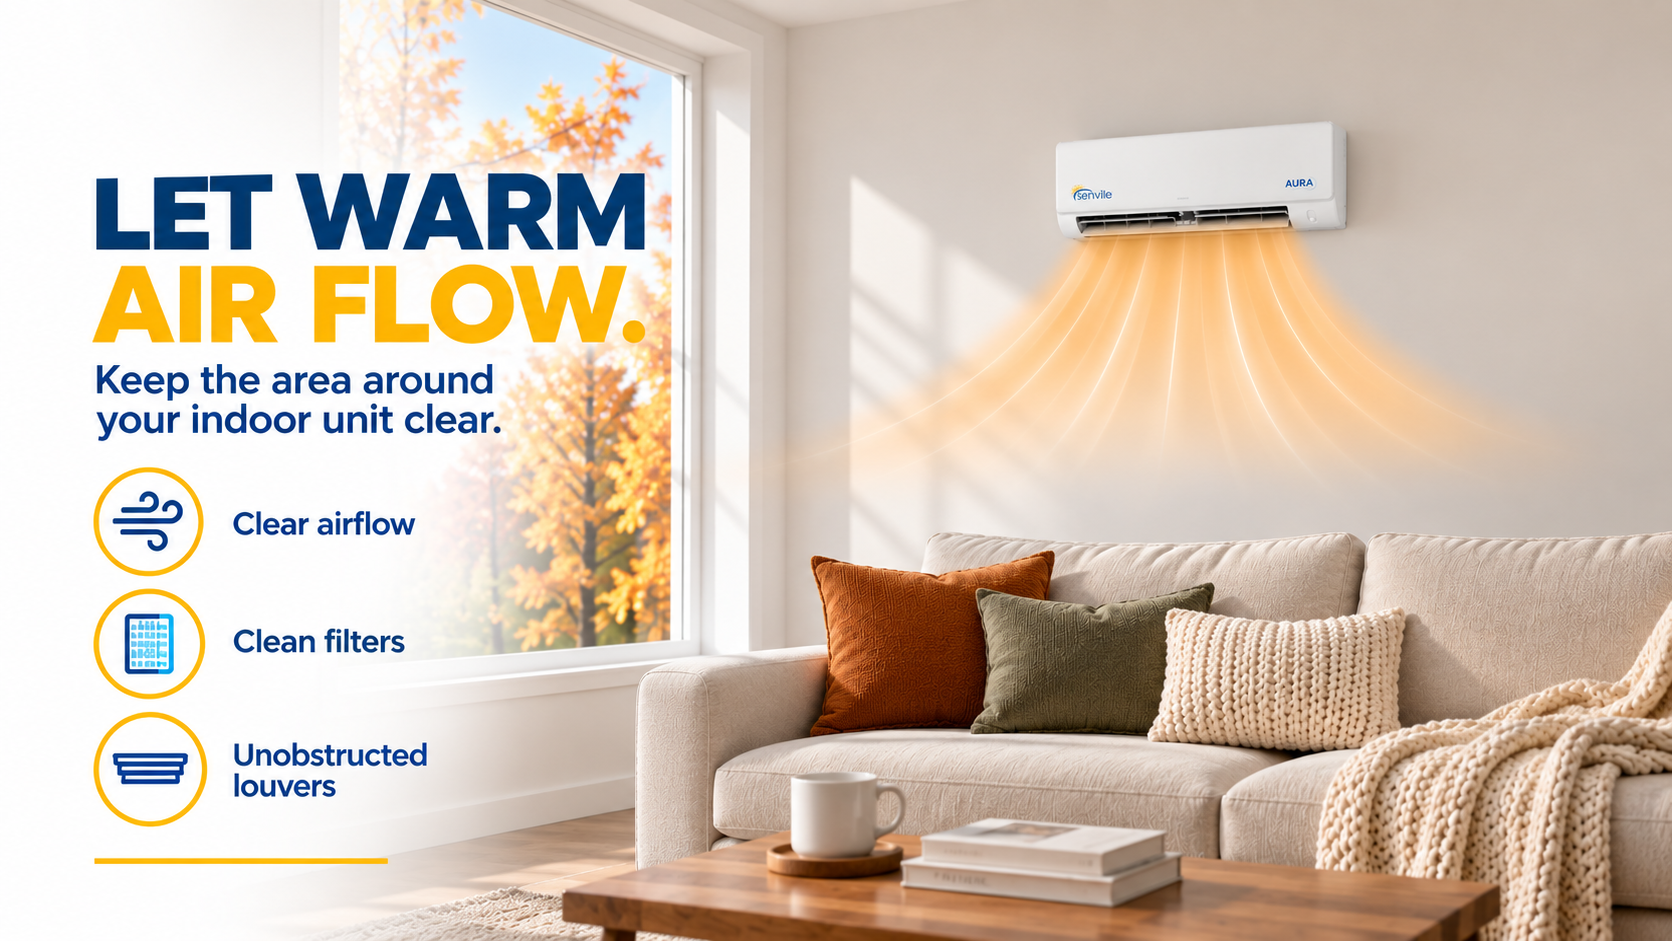
Once the system begins heating, make sure air can move freely through the room.
Check Your Airflow
Indoor unit isn’t blocked by furniture or other objects
Filters aren’t heavily covered with dust or buildup
Louvers can move freely
Fan setting is appropriate for your comfort needs
Warm air can circulate throughout the space
Because warm air rises, directing airflow appropriately can also help distribute heat more effectively through the occupied area of the room.
If you haven’t checked your filters since the summer cooling season, this is a good time to inspect them. If they need cleaning, follow our guide on how to clean your mini split air filters.
QUICK CHECK
Good heating starts with good airflow. Before assuming there’s a problem with the system, make sure nothing is unnecessarily restricting air entering or leaving the indoor unit.
Step 6: Check Every Indoor Unit on a Multi-Zone System
This is especially important if you own a Senville multi-zone mini split.
Indoor units connected to the same outdoor multi-zone system generally can't operate in opposing heating and cooling modes at the same time.
Multi-Zone Mode Conflict
Living Room: HEAT
Bedroom: COOL
Indoor units connected to the same outdoor multi-zone system generally can’t operate in opposing heating and cooling modes at the same time.
These competing requests can create a mode conflict.
If you're transitioning your multi-zone system into heating, check the mode selected on each indoor unit connected to the outdoor system.
MULTI-ZONE TIP
When switching seasons, take a quick walk through your home and check every indoor unit. Making sure your zones are operating in compatible modes can help prevent confusion when one unit doesn’t respond as expected.
Step 7: Confirm Your System Is Heating Normally
After giving the system time to start, do a simple check.
You should notice the room gradually becoming warmer and heated air coming from the indoor unit.
Heating Check
Heat Mode is selected
Set temperature is above current room temperature
You’ve allowed several minutes for the system to respond
Filters and airflow are clear
Indoor louvers aren’t obstructed
Multi-zone indoor units aren’t requesting conflicting modes
Outdoor unit isn’t blocked by debris
If you’ve checked these basics and your system still isn’t heating as expected, visit the Senville Tech+ Center for model-specific troubleshooting and support.
What About Defrost Mode?
As outdoor temperatures get colder, you may eventually notice your heat pump temporarily behaving differently while heating.
During cold-weather operation, frost can form on the outdoor coil. Heat pumps are designed to periodically enter a defrost cycle to remove this frost.
During defrost, you may notice temporary changes in normal heating operation. This doesn't necessarily indicate a problem.
DID YOU KNOW?
Defrost is part of normal heat pump operation in cold conditions. Rather than immediately turning the system off, allow the defrost cycle to complete. If you’re concerned about how your particular system is operating, consult the manual for your model.
Cooling → Heating Checklist
Press
MODE
Select
HEAT
Set desired
temperature
Wait a few
minutes
SAVE THIS CHECKLIST
Your mini split is designed to make the transition between cooling and heating simple. Knowing what to expect can make that first switch of the season even easier.
What If My Mini Split Isn't Heating?
If your system doesn't appear to be heating, don't immediately assume there's a major problem.
| What to Check | What to Look For |
|---|---|
| Operating Mode | Confirm the system is actually set to Heat Mode |
| Temperature | Make sure the set temperature is above the current room temperature |
| Startup Time | Allow the system a few minutes to begin delivering warm air |
| Airflow | Check filters, louvers and anything that could block airflow |
| Multi-Zone Modes | Make sure connected indoor units aren’t requesting conflicting modes |
| Outdoor Unit | Check that the area around the unit is clear |
| Owner’s Manual | Review model-specific operating and troubleshooting information |
Mini Split Heating FAQs
How do I put my Senville mini split in Heat Mode?
Use the MODE button on your remote or compatible controller to cycle through the available operating modes until Heat Mode is selected. Heat is generally represented by a sun symbol. Refer to your specific owner’s manual if your controls differ.
What temperature should I set my mini split to for heating?
There isn’t one ideal temperature for every home. Select a comfortable temperature based on your household and conditions, and allow the system to maintain that setting rather than repeatedly making large adjustments.
Why isn’t my mini split blowing warm air immediately?
A brief delay can be normal when heating begins. The indoor fan may wait while the indoor coil warms so the system doesn’t immediately blow cool air into the room.
Can I switch directly from Cool Mode to Heat Mode?
Yes. When your home needs heating, you can select Heat Mode using the remote or compatible controller. Give the system time to transition and begin heating.
Can one zone heat while another zone cools?
Indoor units connected to the same multi-zone outdoor system generally cannot simultaneously operate in opposing heating and cooling modes. Check the settings on all connected indoor units if you encounter a mode conflict.
Why does my mini split occasionally stop heating when it’s cold outside?
Your heat pump may periodically enter a defrost cycle to remove frost from the outdoor coil. Temporary changes in heating operation during defrost can be normal.
Should I clean my filters before heating season?
It’s a good opportunity to inspect them, particularly after a season of regular cooling. If they’re dirty, follow our filter cleaning instructions before reinstalling them.
Ready for the Change in Seasons?
Switching your mini split from cooling to heating doesn't have to be complicated. Once your local weather starts calling for heat, select the right mode, choose your preferred temperature and give the system time to respond.
A few simple checks can also help make sure your Senville system is ready to keep your home comfortable as temperatures begin to fall.
Ready to explore more heating and cooling options? Browse Senville Mini Split Systems.